1
From the freezer, put the 2L of ice cream into the fridge for 15- 25 minutes until softened.
2
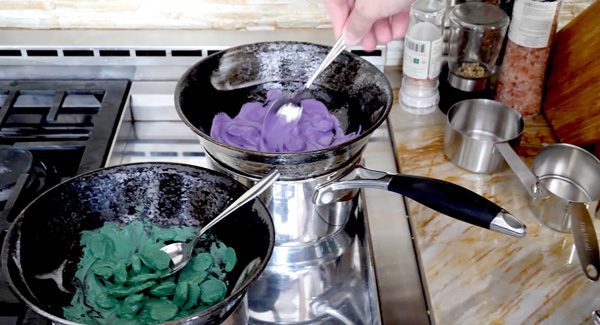
Add all 3 molding wafers to bowls on top of water pots to melt down.
3
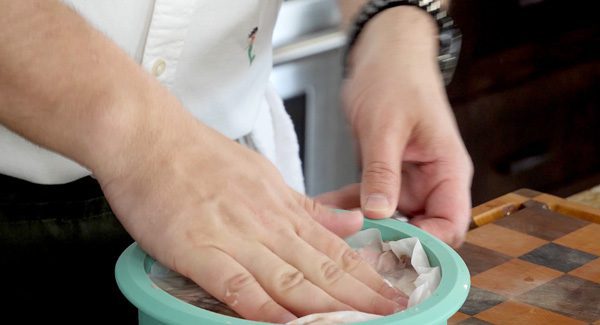
Scoop softened ice cream into the 8-inch mold, filling to the top, pressing down as you go bring the ice cream to the edges of the mold, and place back into the freezer.
4
Add ice cream to the 4-inch mold, but only fill half way, and place back into the freezer.
5
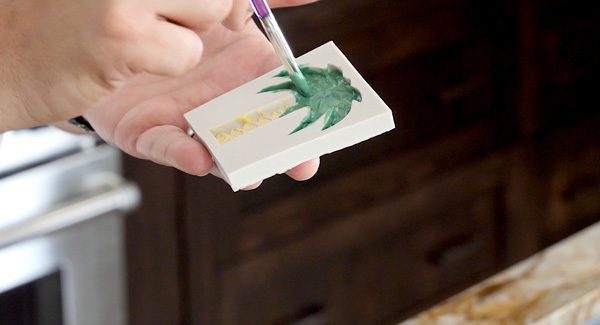
Using a clean, never used paint brush, decorate the palm tree mold with the yellow molding wafers. Continue to decorate the palm tree mold with the green molding wafers.
6
Using the mermaid mold, brush with both purple and green molding wafers, just applying a thin coating, and put into the freezer or fridge to set.
7
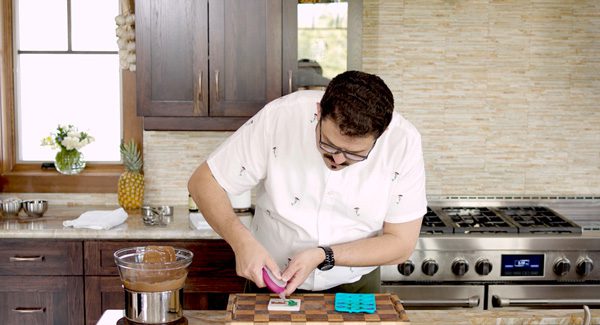
Melt milk (or dark) chocolate in a metal bowl, on top of a pot with boiling water and stir until melted. Slowly squeeze chocolate into the mold and use a toothpick to ensure the chocolate goes right to he tips of the mold, place into the fridge.
8
Remove both silicone ice cream molds, and prepare the serving plate/platter. Using a small blowtorch, heat up the silicone mold and pop out the large ice cream disc.
9
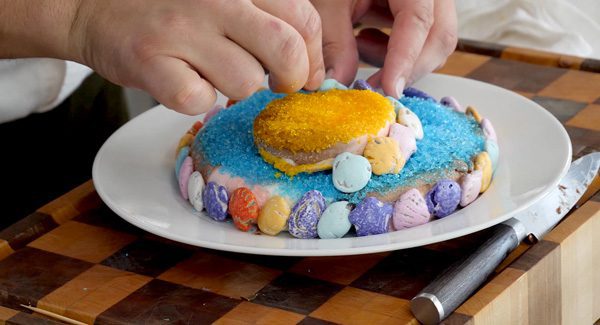
Holding ice cream disc in one hand, add blue sugar to the entire surface of the ice cream and place onto the platter and put back into the freezer.
10
Repeating the same process with the small mold, but this time using the yellow sugar. Place back into the freezer.
11
Take out both the palm tree and the mermaid tail molds and pop the chocolates out of the mold. Using a knife, clean up and rough edges.
12
Pull out large ice cream disc on the platter, applying the chocolate seashells to the outside of the ‘island’.
13
Place smaller ice cream disc slightly offset, or directly in the middle of the large ice cream disc, and place sea shells around the outside of the small disc.
14
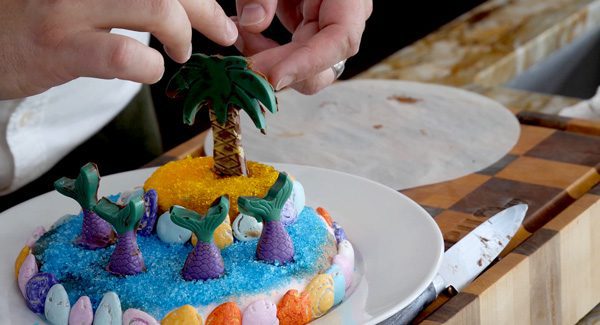
Place mermaid tails around the ‘island’. Place the palm tree onto the island, using a toothpick behind it to ensure it stays upright.